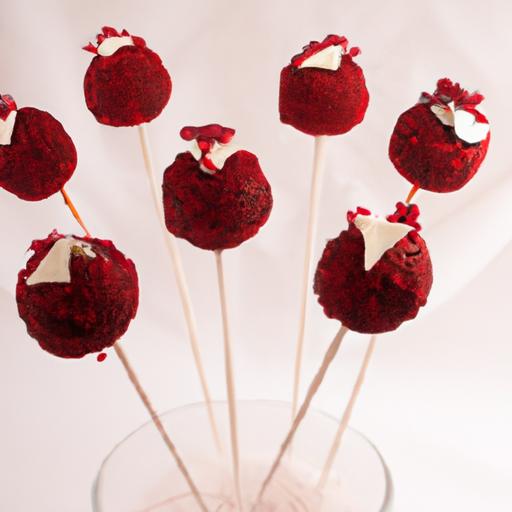
There’s something undeniably enchanting about red velvet cake-the rich, velvety crumb paired with a hint of cocoa and the classic tang of cream cheese frosting. Now, imagine all those beloved flavors transformed into perfectly portioned, bite-sized delights: red velvet cake pops. These petite treats bring an elevated twist to traditional cake, combining indulgence and convenience in one irresistible package. Whether for celebrations, afternoon pick-me-ups, or simply to satisfy a sweet craving, red velvet cake pops offer a charming and delectable way to enjoy a timeless favorite. in this article, we’ll explore what makes these morsels so captivating, share tips for crafting the perfect cake pop, and inspire you to bring a little sweet magic into your kitchen.
Irresistible Red Velvet cake Pops are the perfect indulgence for any occasion, marrying the luxurious flavor of classic red velvet with the fun and approachable bite-sized format. This charming treat originated as a playful twist on traditional cake, turning moist, rich layers into delightful spheres coated in creamy chocolate ganache or vibrant candy melts. Drawing from years of culinary styling and content creation, my passion for crafting these little marvels lies in achieving that impeccable velvet texture-soft yet firm enough to hold its shape, complemented by artful decoration that truly wows guests.
Prep and cook Time
preparation: 25 minutes
Cooking: 30 minutes
Chilling and setting: 2 hours
Yield
Approximately 30 cake pops (depending on size)
Difficulty Level
Medium – ideal for bakers with some experience in batter preparation and decorating techniques
Ingredients
- 1 cup all-purpose flour, sifted
- 1 tablespoon unsweetened cocoa powder
- ¾ cup granulated sugar
- ½ teaspoon baking soda
- ¼ teaspoon salt
- 1 large egg, room temperature
- ½ cup buttermilk, shaken well
- ⅓ cup vegetable oil
- 1 tablespoon red food coloring (gel or liquid)
- 1 teaspoon vanilla extract
- 1 teaspoon white vinegar
- 12 oz cream cheese, softened
- 1½ cups powdered sugar, sifted
- 24 oz white chocolate or candy melts, divided for coating
- Sprinkles, edible glitter, or crushed nuts for decorating
- 30 cake pop sticks
Instructions
- Preheat your oven to 350°F (175°C). Line an 8-inch square baking pan with parchment paper for easy removal.
- Combine dry ingredients: In a medium bowl, whisk together the flour, cocoa powder, sugar, baking soda, and salt until well incorporated.
- Mix wet ingredients: In a separate large bowl, beat the egg, then add the buttermilk, vegetable oil, red food coloring, vanilla extract, and vinegar. Whisk until smooth.
- Fold dry into wet: Gradually add the dry mix into the wet, stirring gently just until no flour streaks remain; be careful not to overmix to keep the cake tender.
- Bake: Pour the batter into the prepared pan, smoothing the top. Bake for 25-30 minutes or until a toothpick inserted in the center comes out clean. Allow the cake to cool entirely on a wire rack.
- Prepare the frosting: In a medium bowl,beat the softened cream cheese and powdered sugar until smooth and creamy.
- Crumble and combine: Using your hands or a mixer, crumble the cooled cake into fine crumbs. Gently fold in the cream cheese frosting until the mixture resembles pliable dough that holds together but isn’t too sticky.
- Form cake balls: Scoop out about 1.5 tablespoons of mixture, roll into smooth balls, and place on a parchment-lined baking sheet.
- Chill: Insert cake pop sticks halfway into each ball, then chill the cake pops in the fridge for at least 1 hour to firm up.
- Melt coating: Gently melt half of the white chocolate or candy melts in a double boiler or microwave in 30-second intervals, stirring in between until smooth.
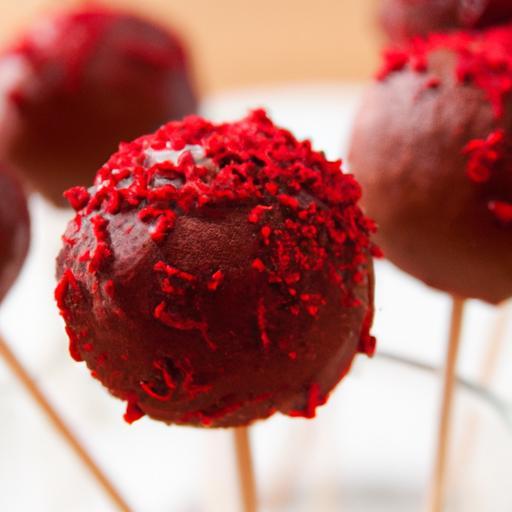
- Dip and decorate: Dip each chilled cake pop into the melted coating, letting the excess drip off. Before the coating hardens, add sprinkles, edible glitter, or crushed nuts for a stunning finish.
- Set: Stick the cake pops upright in a styrofoam block or cake pop display stand. Chill again for 30 minutes until fully set.
Tips for Success
- Maintain moisture: Use high-quality buttermilk and fresh eggs. The cream cheese frosting is key to achieving that signature red velvet richness and moist texture in every cake pop.
- Don’t overwork the crumbs: Overmixing cake crumbs and frosting can make the mixture too dense, resulting in heavy cake pops.
- Temperature matters: Chill cake balls thoroughly before dipping to avoid cracking or melting of coating.
- Color adjustments: For a deeper red hue, gradually increase red food coloring as desired, but beware of overpowering the batter’s balance.
- Storage: Store cake pops in an airtight container in the refrigerator for up to 5 days or freeze for extended freshness.
Serving Suggestions
Present your cake pops in colorful, thematic holders or a decorative vase filled with candy or beads for stability. For an extra touch of elegance, lightly dust the pops with edible shimmer or drizzle with contrasting dark chocolate. These delightful bites pair beautifully with vanilla bean milkshakes, hot cocoa, or sparkling rosé at celebratory gatherings. Refresh the look at seasonal events by switching out sprinkles for edible gold leaf, nuts, or coconut flakes.
| Nutritional Info (per pop) | Calories | Protein | Carbs | Fat |
|---|---|---|---|---|
| Average | 180 kcal | 2 g | 22 g | 9 g |

For those eager to explore more exquisite desserts, check out our Ultimate Chocolate Truffle Guide or visit FDA Food Additives Overview to understand how colorings and additives influence your baking creations.
Q&A
Q&A: Irresistible Red Velvet Cake Pops – A Sweet Bite-sized Delight
Q1: What exactly are red velvet cake pops?
A1: red velvet cake pops are miniature,bite-sized treats that combine the moist,velvety texture of traditional red velvet cake with a decadent coating-usually rich white chocolate or cream cheese frosting-and a handy stick for easy enjoyment. Think of them as the lovechild of cupcakes and lollipops, perfect for any sweet tooth craving a pop of indulgence!
Q2: How do red velvet cake pops differ from regular cupcakes or cake slices?
A2: While cupcakes and cake slices can be a bit more filling and often require a fork (or even a plate!), red velvet cake pops offer a perfectly portable, single-bite experience. Thier compact size and playful presentation make them ideal for parties, gifts, or just snacking on the go without the mess.
Q3: What makes the “red velvet” flavor so special?
A3: Red velvet is a unique blend of subtle cocoa, a hint of tangy buttermilk, and that iconic ruby-red hue, usually achieved with food coloring or natural beet juice. Paired with cream cheese frosting, it creates a delicate balance of flavors-sweet, slightly tangy, and oh-so-soft-which translates flawlessly into the cake pop form.
Q4: Can I make red velvet cake pops at home even if I’m not an expert baker?
A4: Absolutely! Red velvet cake pops are surprisingly beginner-pleasant. You can start with your favorite red velvet cake recipe-homemade or boxed-and mix the crumbs with cream cheese frosting to shape into balls. After chilling, simply dip them into melted white chocolate or candy melts, decorate as you like, and voilà-gourmet cake pops!
Q5: Are there any creative twists to elevate red velvet cake pops?
A5: Definitely! From drizzling contrasting chocolate colors to sprinkling edible glitter, crushed nuts, or festive sprinkles, customization is part of the fun. You can even infuse unexpected flavors like orange zest, espresso powder, or a splash of liqueur into the cake batter or coating for a grown-up twist.
Q6: What occasions are red velvet cake pops best suited for?
A6: Thanks to their charming size and vibrant color, red velvet cake pops are perfect for weddings, baby showers, Valentine’s Day, holiday parties, or just turning any ordinary day into something special.They’re also fantastic as party favors or eye-catching dessert table additions.
Q7: How should red velvet cake pops be stored to keep them fresh?
A7: To maintain their moist texture and shiny coating, store your cake pops in an airtight container in the refrigerator. They usually last up to a week. Before serving, take them out a little early to bring them to room temperature-this ensures every bite is as luscious as intended.
Q8: Where can I find inspiration or recipes for making irresistible red velvet cake pops?
A8: There’s a treasure trove of inspiration available-from food blogs and YouTube tutorials to social media communities dedicated to baking. Look for recipes that emphasize quality ingredients and simple steps, and don’t be afraid to experiment with decorating techniques to make your pops uniquely yours!
Ready to dive into making these sweet, bite-sized delights? Red velvet cake pops are a creative canvas for flavor and fun-proving once and for all that great things come in small, delicious packages!
Future Outlook
In the world of sweet treats, red velvet cake pops stand out as tiny marvels of flavor and charm. Their velvety texture, paired with that signature subtle cocoa hint and topped with a creamy, dreamy frosting, transforms a simple dessert into an irresistible bite-sized delight. Whether you’re serving them at a party, gifting them to loved ones, or simply indulging your own sweet tooth, these cake pops offer a perfect balance of elegance and comfort. So next time you crave something special, remember: the magic of red velvet isn’t just in a slice-it’s in every delightful pop.